Startup the Required Services
Before you can start running the app, you need to set up the required services such as the database and or redis cache.
Use Docker-Compose
-
Startup your
docker desktop, which is one of the tools you've had to setup as part of the prerequisites setup -
Open a powershell/terminal instance and navigate to the root directory of the project. There
should be a
docker-compose.ymlfile located in the root.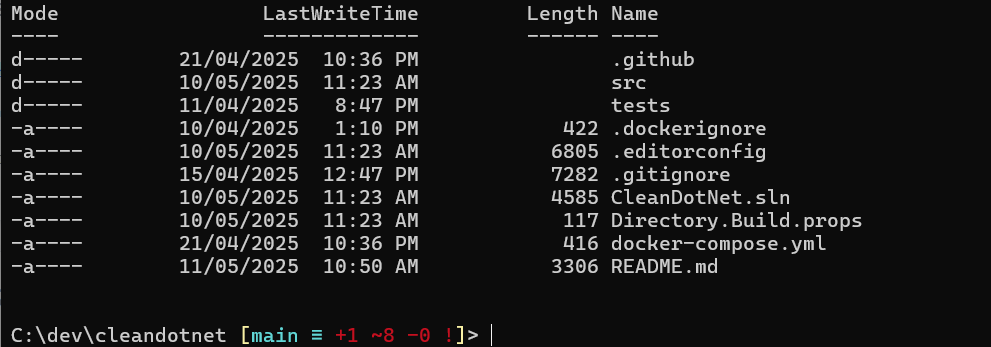
-
Run the following command to start the required services.
It should startup the following services
docker-compose up -d
-
After starting the docker services, connect to the sql server database using your preferred
tool. The username is
saand you can get the password from thedocker-compose.ymlfile.
After connecting to the database, create theCleanDotNetdatabase.
Use your own SqlServer and Redis instance
- Open the project using your preferred IDE.
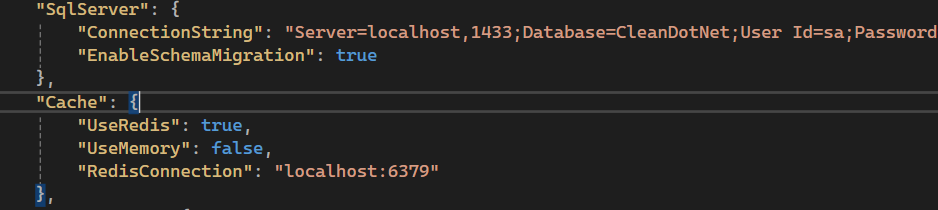
- Navigate to and open the
/src/Api/appsettings.jsonfile. -
Locate the SqlServer and Redis section and replace with details of your own instance.
Important
The EnableSchemaMigration feature ensures that your database schemas are
set up
correctly when the application is run for the first time.
It also handles ongoing database schema changes automatically, eliminating the need for
manual intervention during development or deployment.
This feature is particularly useful in environments where continuous integration and deployment (CI/CD) pipelines are used, as it ensures that the database is always in sync with the application's data model. By enabling schema migration, you can focus on building features without worrying about database setup or schema updates. If you wish to manage your database schema manually, you can disable this setting.
For more details on how EnableSchemaMigration works and how to configure
it,
please refer to the
Database Guide page.
Running the Project
If you are using Visual Studio 2022, follow these steps to run the project:
-
First, ensure that the project compiles successfully. You can build the project by pressing
Ctrl + Shift + Bin Visual Studio 2022. -
Once the project is built, set the API project as the startup project. You can do this by
right-clicking
on the API project in the Solution Explorer and selecting
Set as Startup
                                Project.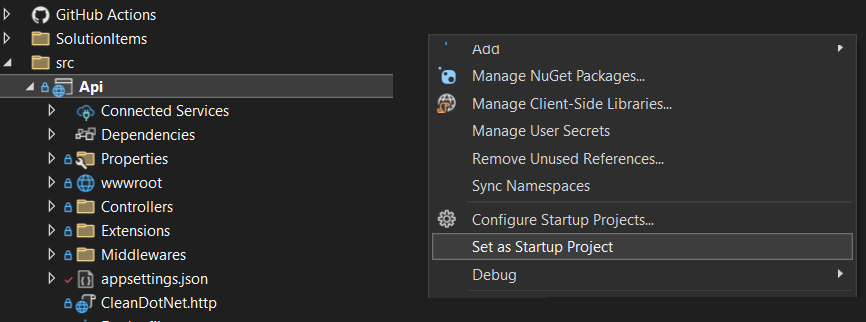
-
After setting the startup project, run the application by pressing
F5. This will launch the application, and you will be directed to the home page.